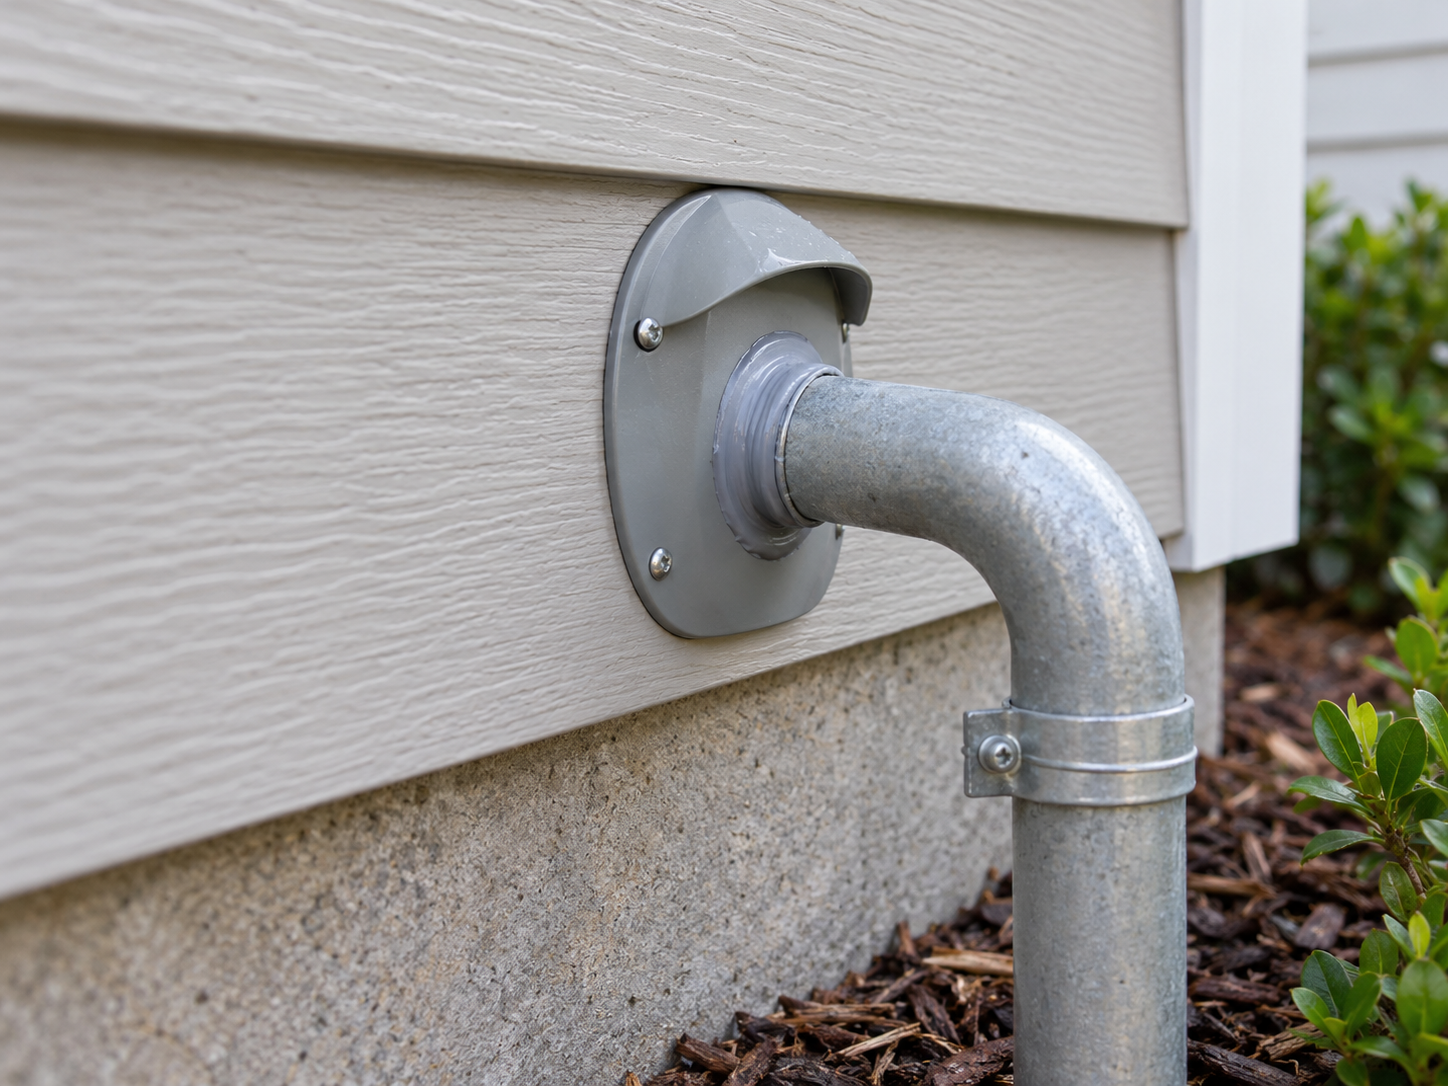
To keep mice out of a pipe penetration, repair the space between the pipe and the wall with a securely fitted barrier and a compatible seal. Small, irregular openings may suit metal mesh secured with sealant; larger openings may need a fitted metal patch or a masonry repair. Choose the repair for the wall, the utility and the exposure—not just the size of the hole.
Mice can enter an opening about ¼ inch (6 mm) wide. Check plumbing pipes, cables and AC lines where they pass through exterior walls, as well as accessible corresponding openings indoors. If you are still working out which gaps matter, start with how to find where mice are getting into your house. [1]
This guide covers gaps around utility lines. Open pipe ends, appliance vents and drainage outlets are different components; do not fill or obstruct them as part of this repair.
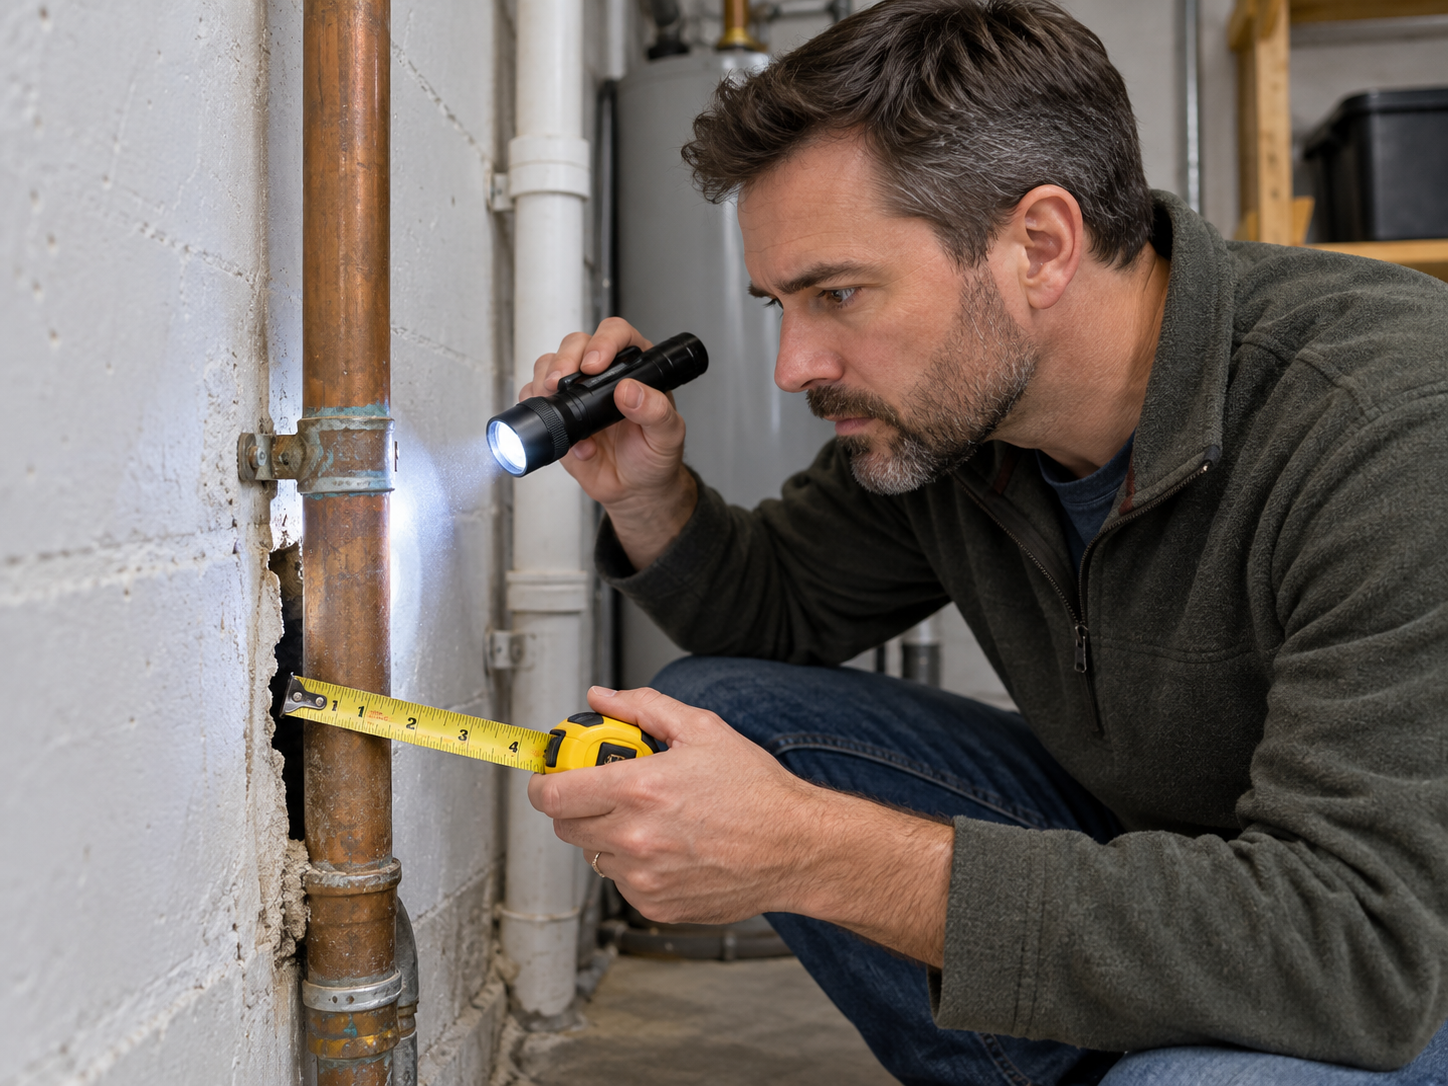
First, identify the penetration and the gap
Before choosing materials, check:
- What passes through it: a water pipe, drainpipe, cable, gas pipe or bundle of AC lines.
- The surrounding material: drywall, wood, siding, brick or concrete.
- The opening: its width, depth and whether there is sound material to support a patch.
- The conditions: interior or exterior, dry or damp, and any leaking or damaged material.
- Special requirements: electrical safety, heat clearance, pipe movement or a fire-protection detail.
Measure the open space around the line, rather than the diameter of the pipe itself. Where safely accessible, inspect both faces of an exterior-wall penetration. DOE’s guidance recommends sealing from the interior and exterior where possible, with attention to keeping rainwater out. [2]
Do not patch over an unresolved pipe leak or damage that leaves the repair without a sound attachment surface. Have the underlying problem assessed first.
Choose the material for the situation
“Small” and “large” below describe the repair, not universal product limits. Follow the selected sealant or patch manufacturer’s permitted joint dimensions, compatible surfaces and installation requirements.
| Situation | Suitable approach | What to watch for |
|---|---|---|
| Narrow joint around a pipe, with sound adjoining surfaces | Compatible sealant or a suitable gasket for the air/water seal | Sealant alone should not be represented as a durable barrier across a mouse-accessible opening |
| Small, irregular mouse-accessible opening | Appropriate metal mesh or steel wool secured with compatible sealant | Loose filler can be displaced; consider exposure and utility safety |
| Larger opening or a deep void with little support for sealant | A fitted, securely attached hardware-cloth or sheet-metal barrier, with the remaining joint sealed | The edges and the fit around each line matter as much as the patch’s center |
| Damaged brick, mortar or concrete around a penetration | A compatible masonry patch where suitable for the wall and penetration | Do not assume a rigid patch is appropriate where movement or a specialized seal is required |
| Electrical, gas, hot-flue or specialized HVAC penetration | A repair selected for that system by the appropriate qualified tradesperson | General pest-exclusion materials do not replace electrical, fire or equipment requirements |
CDC lists steel wool held with caulk for small holes, and metal, hardware cloth or cement for larger repairs. NC State Extension describes secured metal patches for holes that cannot be filled effectively with caulk. [1, 3]
Steel wool: a secured filler with limitations
Steel wool is included in CDC’s basic exclusion guidance, but do not simply push in a loose wad and leave it there. Extension guidance advises caulking it in place and notes that ordinary steel wool can rust and is flammable. Those limitations matter when selecting an exterior repair or working near a utility. [1, 3]
Do not insert steel wool into electrical boxes, around exposed conductors or into an opening whose contents you cannot identify. This article’s homeowner repair steps are for safely accessible plumbing gaps, not work inside electrical equipment.
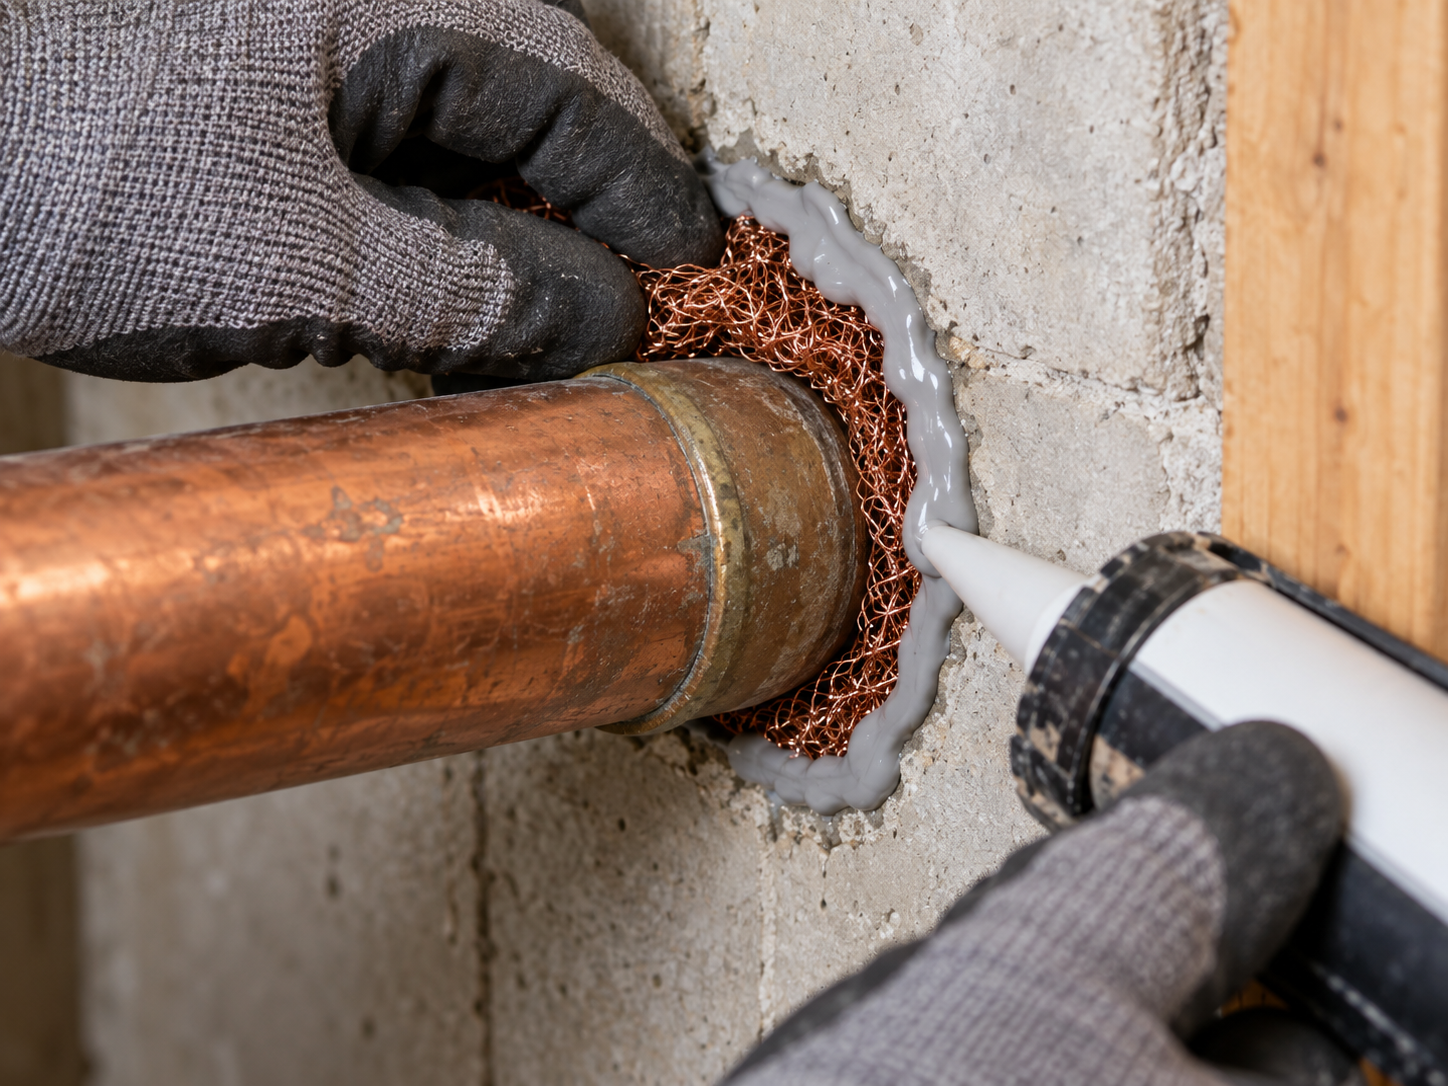
Copper or stainless steel mesh: fit it, then retain it
Compressible metal mesh can conform to an irregular opening. EPA recommends corrosion-resistant copper or stainless steel mesh for rodent exclusion, while extension guidance advises securing copper mesh with caulk because mice can push loose material aside. [3, 4]
Corrosion resistance does not make a material suitable for every pipe or cable. Confirm compatibility with the utility and adjoining surfaces. Do not force sharp metal against a line, damage its insulation or use the filler to move the pipe.
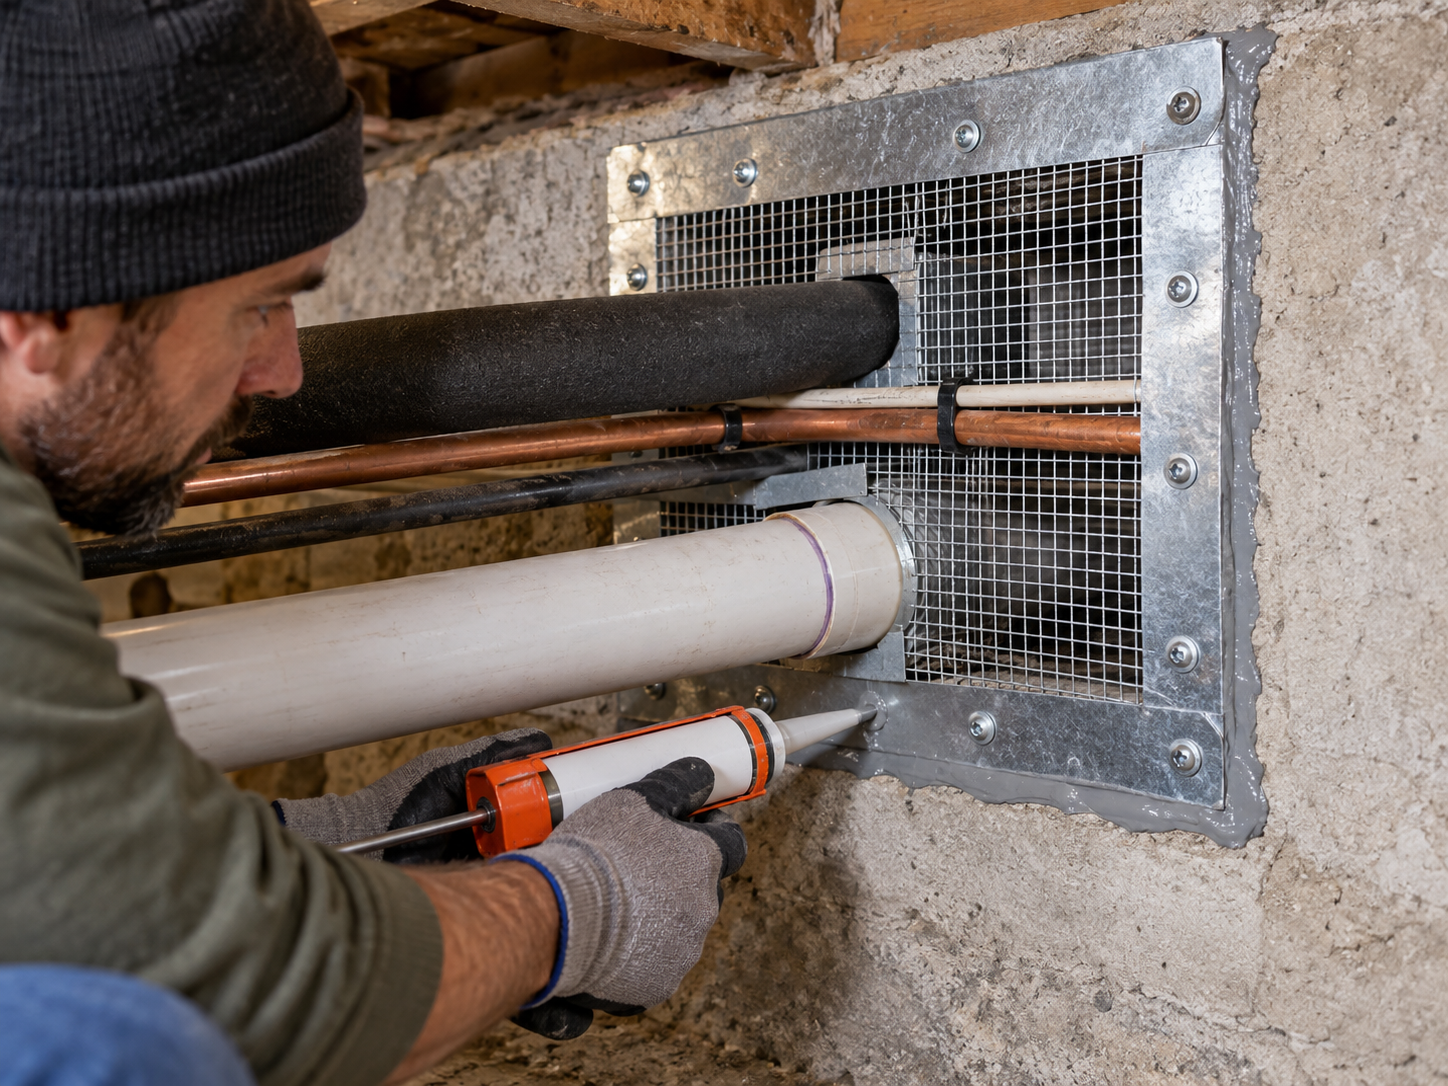
Hardware cloth and sheet metal: bridge larger openings
For a larger cutout, a securely fitted barrier is more useful than trying to span an unsupported void with sealant. DOE identifies ¼-inch (6 mm) hardware-cloth openings for excluding mice; ½-inch (13 mm) mesh is not the mouse-exclusion size. [5]
Fit the patch closely around the penetration and secure its edges to sound material. Do not drill or screw blindly beside utility lines. If you cannot identify a safe fastening location, get help rather than enlarging the hole or risking a concealed line.
Sealant: close the remaining joint
Select sealant for the wall material, pipe or cable surface, interior or exterior exposure and applicable fire requirements. DOE specifically calls for compatibility with adjoining surfaces. A flexible gasket can accommodate movement in some plumbing applications, but an air-sealing gasket is not automatically a complete mouse barrier. [6]
Where the product instructions require a backing material or a particular joint depth, follow that detail. Do not assume metal filler replaces every component of the manufacturer’s joint design.
Mortar and cement: use them for suitable masonry repairs
The National Park Service’s exclusion manual includes mortar and cement patching materials and illustrates cement in some pipe-to-wall repairs. Select a product intended for the existing masonry and its exposure, and follow its preparation and curing instructions. [7]
Use masonry patching to repair suitable masonry damage. Do not automatically pack cement directly around every plastic pipe, sleeve or moving line. The penetration may need a separate flexible or specialized sealing detail; check with the plumber when that is unclear.
Why exposed expanding foam alone is insufficient
Spray foam can close an air gap, but EPA states that rodents can chew through it. DOE’s pipe-penetration guide combines metal screening with foam or caulk, giving the metal and sealing material different jobs. [2, 4]
For a mouse-accessible opening, use an appropriate physical barrier rather than relying on exposed foam alone. If foam is part of the assembly, use a compatible product in the permitted location and protect it as instructed. EPA also warns against leaving foam exposed to sunlight. [4]
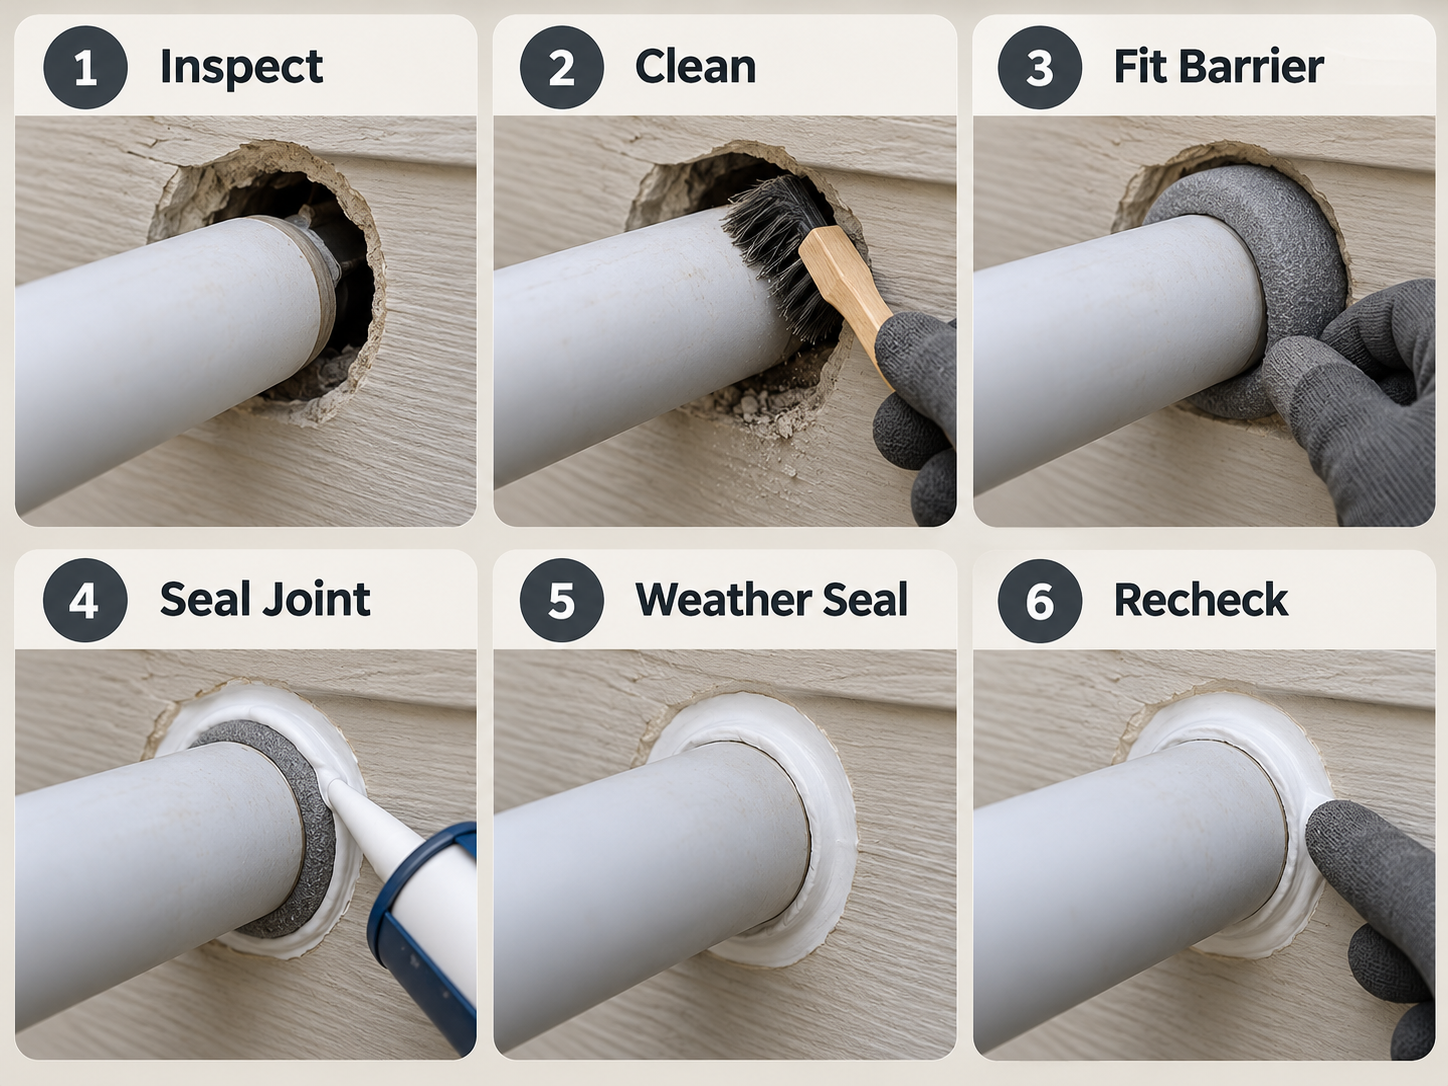
Seal an accessible plumbing gap step by step
The following sequence applies to an ordinary, accessible plumbing penetration after you have ruled out leaks, damaged utilities and special fire or heat requirements.
- Inspect both sides where accessible. Photograph the opening and identify what passes through it. Do not disconnect plumbing to gain access.
- Prepare the repair surface. Follow the selected product’s cleaning and drying instructions. If rodent waste is present, use the CDC’s safe cleanup procedure before disturbing it; do not sweep or vacuum the waste. [8]
- Fit the chosen barrier or patch. For an irregular opening, use suitable retained metal filler. For a larger cutout, fit a supported metal patch. Keep the pipe and its connections undisturbed.
- Seal the remaining joint. Apply compatible sealant within its permitted dimensions, or complete the specified masonry or gasket detail. Check the entire perimeter, including spaces between lines in a bundle.
- Finish the exterior weather protection. An outside repair must also address water entry. Where flashing or house wrap is involved, DOE recommends an integrated detail that directs water out of the wall; a surface bead is not a substitute for repairing failed flashing. [2]
- Allow the repair to cure and inspect it. Follow the product’s curing instructions. Look for open edges, loose material or gaps left behind the pipe.
Cables, gas pipes and AC lines need extra care
Electrical wiring: DOE advises checking for exposed, damaged or questionable wiring and postponing sealing until safety issues are resolved. Use an electrician for suspect wiring or any work requiring access inside electrical equipment. A general-purpose metal-and-caulk repair should not be improvised around exposed conductors. [9]
Gas pipes: Keep the repair at the building opening, without altering fittings or the pipe. Have a qualified gas professional assess work that requires moving the line, reaching behind equipment or resolving an uncertain penetration detail.
AC lines: A wall opening may contain several lines, insulation and wiring. Do not cut insulation away or disturb connections to make a mesh patch fit. Ask an HVAC technician to select or complete the detail if the repair would affect those components. General penetration guidance does not replace the equipment’s installation instructions.
Hot flues and fire-protected penetrations: Combustion flues have clearance and heat-resistant sealing requirements. DOE treats these separately from ordinary pipe gaps. Likewise, fire-protection requirements at a penetration must be preserved; do not assume a can of foam or a bead of ordinary caulk satisfies them. [6, 10]
Check the repair and watch for activity
Revisit the repaired opening after curing and look for displaced filler, damaged sealant or an unsealed edge. If mice remain indoors, address that activity as well: sealing an entry does not remove animals already inside. CDC recommends trapping where there is evidence of rodents and keeping traps away from children and pets. [11]
For the broader inspection and prevention sequence, use How to Mouse Proof a House. A well-fitted pipe repair is one part of checking the entire building for entry routes.
Sources
- CDC — How to Seal Up to Prevent Rodents
- DOE Building America — Flash and Air Seal Piping and Wiring Through Exterior Walls
- NC State Extension — Surveillance and Management of Common Structure-Invading Mice
- EPA Indoor airPLUS — Pest Entry Prevention
- DOE Building America — Screens and Other Deterrents
- DOE Building America — Air Sealing Plumbing and Piping
- National Park Service — Rodent Exclusion Manual, mortar and cement sections
- CDC — How to Clean Up After Rodents
- DOE Building America — Air Sealing Electrical Wiring
- DOE Building America — Air Sealing Duct and Flue Shafts
- CDC — How to Trap Up to Remove Rodents